Friday, September 11, 2020

1500 + half square triangles .. what to do?

 Hi everyone,

I have been trying to work on projects from my treasure closet.  I came across a pile of half square triangles.  I mean a pile.  Many years ago I participated in a face book 1/2 square triangle (HST) exchange along with my BFF.  Well she did all the work in making the allotted amount for her and me, gotta love your BFF's.  when we got all these HST back, she didn't want hers.  I couldn't believe my ears.  who wouldn't want 800 or so HSTs.???  So I was lucky enough to get her pile as well.   

The HST's were made using Thangles see link below. 

First things first,  I have to try to organize them into some sort of color piles.
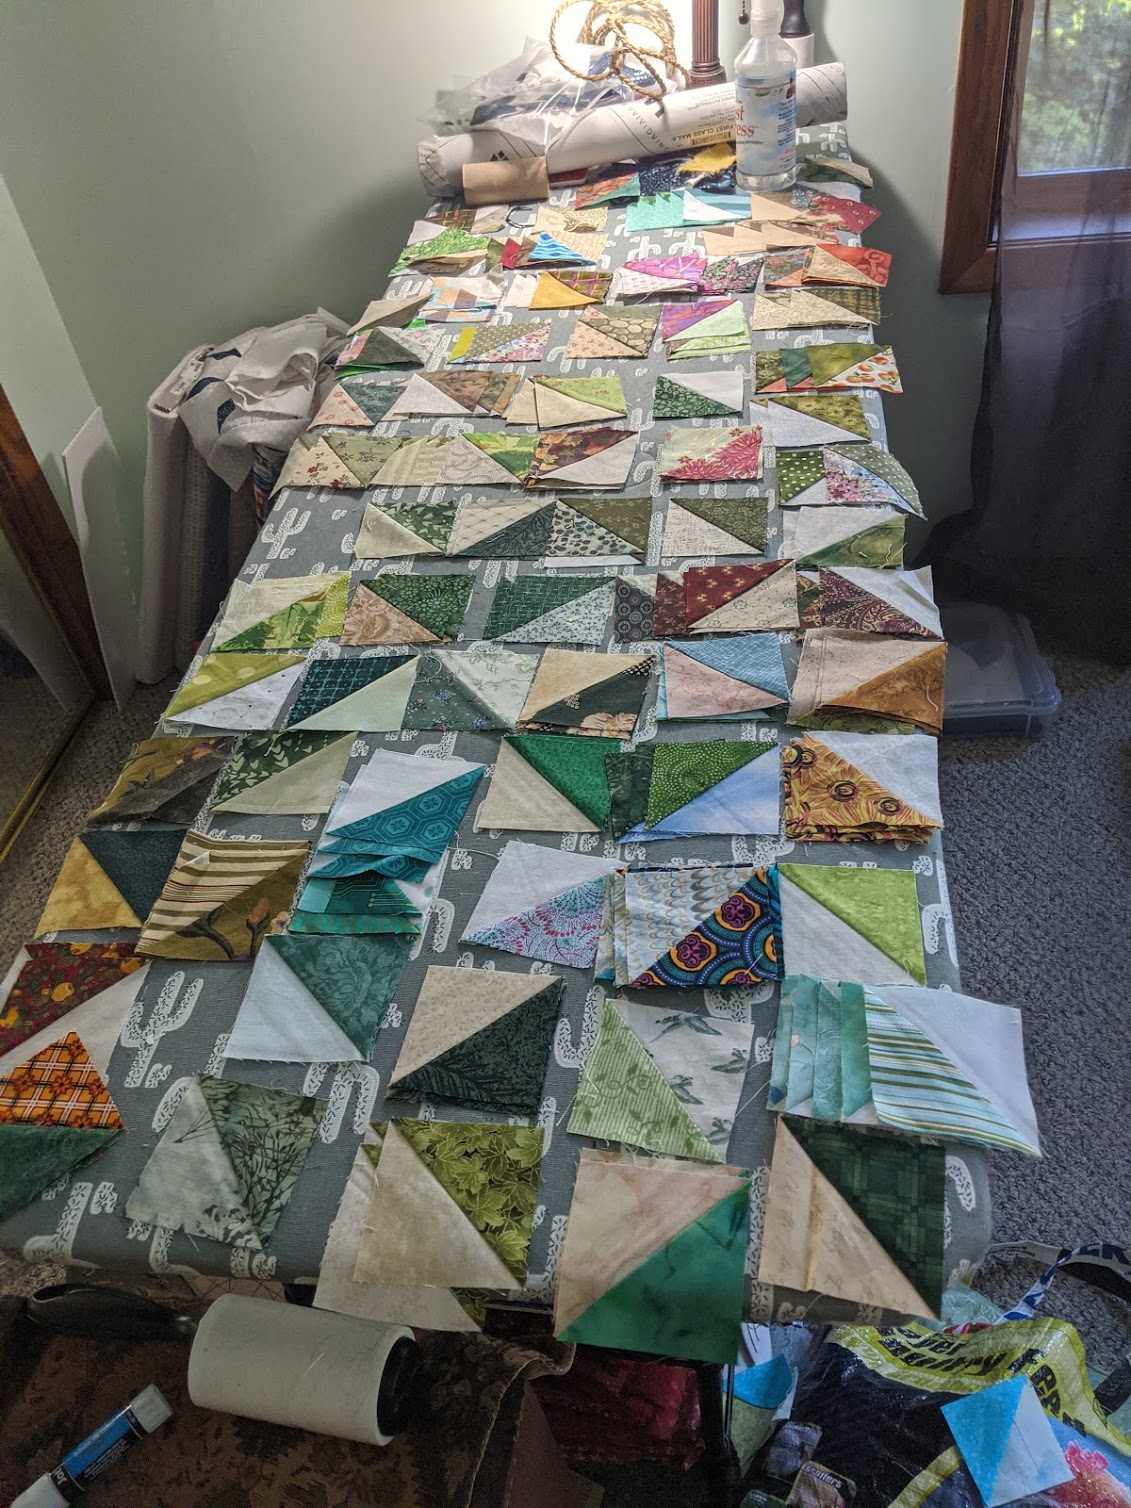


Once I had some sort of control over the color piles, I grabbed a pile and started matching them into piles of 4 and sewed them into pinwheels.  I ended up with over 390+ pinwheels.

Now in most cases I press my seam to the dark color and when you sew them together the seams nestle together for the perfect points.  In this case, I decided to press the seams open to help distribute the bulk of the seams. It did take a bit of extra time to pin each one so the seams matched up, but I think it will pay off once I load this on my long arm and start quilting.


This is the first project created from these wonderful pinwheels.  


I promote buying from our local quilt shops first, we can't lose them.  But if you decide to order on line I have provided a couple of links for you. For the best press I go thru it so fast ( I press and starch everything. LOL) I purchase it by the gallon and refill my spray bottle.

Here are the Amazon affiliate links for the Thangles and Best Press.  As an Amazon associate I earn from qualifying purchases.


Sunday, March 11, 2018

March 11 2018


In August/Sept last year we had a family reunion at my sisters house.. It was great fun to have all of the family together.

One of the special moments was a QOH (Quilt of Honor) presentation to my 2 cousins . love you guys


Thanks for checking in.
Renee

Tuesday, July 25, 2017

July 25 2017 - Lone Star


Wow has this summer zipped by... In June I headed up to Madeline Island for a weekend of QOH quilting.  I look forward to this weekend every year.  This year we finished 3 tops, I will show them when I start to quilt them. 


So what have I been working on?


I started  a Instagram account so I can post the quilting and maybe some other items on there for easier access.


A dear friend of the family has a son who is getting married.  I don't have the name of the person who pieced it.  The request was for minimal quilting to enhance the pattern.  I did straight-line echoing in the corners and triangle background area.  Stitch in the ditch in the star area. Hand embroidered the names and date of the wedding. The thin white border was filled with a sting of connected leaves.


I will be doing some traveling the month of August for  business and pleasure.  That means no quilting for me for awhile.. I hope to be back at the long arm the end of August.


Thanks for checking in.


Hugs
Renee
May 19 2017


Hi  - Lots of life changes since my last post. I have moved to Somerset Wi to be closer to family. I started a new job as a project manager about 2 years ago.  I love this job!!!


The most fun news is I finally got my long arm, I have been waiting for this day for a very long time!


I  continued to sew for Quilts of Honor and am proud of the our hard working volunteers.  In 2016 our WISE chapter presented  119  quilts to our veterans. Way to go team!!!


Now that I have moved to Somerset Wisconsin and am starting a extended QOH chapter here.  Hope to create a small stash of quilts so they are ready to go when the need arises.


Here is the first  QOH quilt on new long arm.  One layer batting, glide thread in cream, edge to edge meandering.


That's all for now.  Thanks for checking in


Renee


Tuesday, February 25, 2014

Karen at Franklin Library has been a huge supporter of quilting for the troops, for several years she has sent huge amounts of care packages out and coordinated many, many activities to honor our service men and women. One of the projects she has going on is a quilt challenge and Exhibit.

Honoring our Defenders of the flag
Quilts of Honor Flag Day Quilt Challenge and Exhibit
May 17 (Armed Forces Day) - June 14 (Flag Day), 2014 at the
Franklin Public Library, 9151 W. Loomis Rd. Franklin, Wi

So, my quilting buddy and I each picked up a challenge bag.  Of course my buddy already finished her quilt.  ( she reminds me of the ever ready bunny).  Here is her quilt.


In the kit you get 2 yards of fabric, no pattern, and in order to have it hang in the Exhibit it has to be no larger than 50 x 60.  And you have to use at least 50% of each fabric to be considered.  Here are the fabrics in my kit. (by the way my quilt buddy Sue picked out this kit for me).


I started by measuring my pieces they were 18 by 42, I decided to cut them in to 9 inch squares, the above photo is all that is left after I cut my blocks, I am going to figure out how to use these up in the borders.  My goal is to use 100 % of the fabric.  I had to add a couple more neutral fabrics from my stash.  I saw this quilt on youtube and figured it would be a good way to use all the fabric.


I them made quick pinwheels.  by taking a print and a neutral block, placed right sides together. Sew a 1/4 inch seam around all 4 sides. the cut on the diagonal, press and sew the pinwheels together.


Now measure your blocks to see what the average size is. Mine are 11 1/8 inches.  divide that by three and cut your blocks ( I know how crazy is this, cutting up your perfectly good blocks.)


I measure from the center seam, I want to cut all 4 sides to make equal pieces.


Oh Oh, they don't look equal to me.  lets turn them to create a new block.


Well, I was defiantly off on my measuring, you can see how you can really play with colors on this idea. Some how I will need to figure out how to get this to fit in to this quilt top. 

The way I solved the measuring issue is to iron the blocks into 3rds.


The trick for me was to not iron over the lines when I ironed the second side.


here you can clearly see my cutting lines.

Cutting more blocks and stacking them so I can assembly line sew.


This is how the block SHOULD look when sewed together.


Now that looks better.

See ya.

Feb 25, 2014  What's been happening here

Wow, it has been a while since I posted.  In case you are wondering were I have been, here is the readers digest version. Last Feb I moved to Minnesota for 3 months for work,  Moved back home and started working a new job in November.  For those of you looking for work, it is tough out there, but stay POSITIVE it will all work out.

Now back to quilting.  In the last post I had run out of the brown crackle fabric for the sashing, here is the finished quilt.


Thanks for looking.  Have a awesome day.


Sunday, July 14, 2013

July 14, 2013

Hi everyone.  The last project that we were talking about got put on the back burner.  I ran out of the brown crackle fabric for the sashing, so that is on hold until I pick up some more.  In the mean time...

We had precut a bunch of star blocks to sell and one of the quilt shows to raise money for our group.  I was lucky enough to end up with the blocks that didn't sell.  There are a bunch of them so you will be seeing them in many projects to come. But, here is the first project, it all started with this.

I made a bunch of the blocks up and decided to start with the red tipped stars.


I also have a pile of orphan blocks, so I decided to take one of the blue tipped stars and one of the orphan blocks and put them in the middle of the layout.  I usually do a quick sketch of the lay out I want to give myself a blue print.  (I will spare you that photo of scribbles).  I decided I wanted to make some flying geese. Here is the layout I came up with.


After a bunch of flying geese and matching points, here is the finished top.


This will go off for quilting this week, and I will be starting a new project.  I might use this same layout but change up the fabric to see if I can get a different secondary design.. Not sure yet.

Thanks for looking and have a great day!

Sunday, June 23, 2013

June 23, 2013

Sorry I have been gone for a while, but I am back home! We are now quilting for Quilts of Honor at Ye Olde School House in Cedarburg Wisconsin.   I can't believe I didn't take my camera.  Road up for our quilt day with Mustang Sally in the her little red mustang convertible.  Stopped by Tink and Dicks house to pick up Tink and was presented with a bunch more orphan blocks.  Yippee.

One of the quilts in the pile of goodies is one that just needs to be sewn together.  So here is a photo of the next project.


As I work on this project I will share the photos with you.  I am sew excited!

Thanks for looking.

Sunday, December 30, 2012

Dec 30, 2012

Mary from our YOSH QOV group presented this quilt to the her father in law on Christmas day.  Her father in law is 96 and served in WWII.  I love this photo.....


This is what it is all about,  joy, warmth, love and happiness! Our group presented 123 quilts this year. Yippeeeee...

Thanks for looking.

Dec 30, 2012 Bracelets

I took a little break from quilting to work on some bracelets. The pink and green one are going to my sister.  I need to make a blue one to wear with my jeans. 


The red one is for a dear friend of mine. I sure hope she likes it.

Have a safe new year!

Tuesday, December 25, 2012

Merry Christmas!

Dec 25, 2012

Merry Christmas ! Stayed up late last night hand sewing the binding on this quilt.  These are QOV orphan blocks. These were made by Gene from Florida, he made enough to do 2 quilts.  This is the second quilt we have made from his blocks.  The scrappy stars were made by sewing random angles on the sashing pieces.  Sue did the quilting in a overall pattern of stars.


I love the material on the back of the quilt also.

Have a Blessed Christmas and New Year.


Sunday, October 28, 2012

December 17, 2012

It has been busy for everyone this time of year. What have I been working on? Here is a sneak peek at the latest orphan block quilt. The squares were orphan blocks and the quilt was designed in EQ6 (awesome software).


off to make Christmas cookies. Thanks for looking.


November 10, 2012

Finished piecing another orphan block top, it goes over to the quilters on Tuesday. Here is a sneak peek.


I will share more photos when it is done being quilted. I hoped to get more than 3 pillow cases done. 2 of these are for matching quilts and one is for our stash, When we get quilts that don't have a pillow case to go with it, we take one from our stash. I hope to have 15 made for the stash pile. The pattern for the pillow cases is magic, it only takes 3 seams and all the seams are finished. Yikes, lets see how close I get.


We are also in a process of making a group quilt, each one of us will make block and they will be sewn into a group quilt.


I still have a pile of orphan blocks, so I am off to design another. Thanks for looking.


November 10, 2012

What a busy week.  I completed the binding on the witch wall hanging for my girlfriend.

 
I used a new tool that is out called the Binding Thingy. 


Here are a couple of mitered corners that I used this tool on.  I think I will use this a few more times before I pass judgement on it.

I made a purse for my mom, hope she likes it.  The pattern is Margo by Lazy girl designes, it has a zipper closure and 6 inside pockets.


Our quilt quild The Scappers are making Christmas stockings for charity.  These stockings that I made are so cool.  They are lined and the seams finished and all done with 1 seam, another magic way of layering your material. I was going to post the link here for you to see, but i can't find it.  If anyone wants to know how to make these leave a comment requesting it and I will post the instuctions.  I left the ends of the ribbon long so we can tie some candy canes to them.


check out the other pages to see what else has been happening around here.
Have a great day.


Oct 27, 2012

If the hat fits is finished.

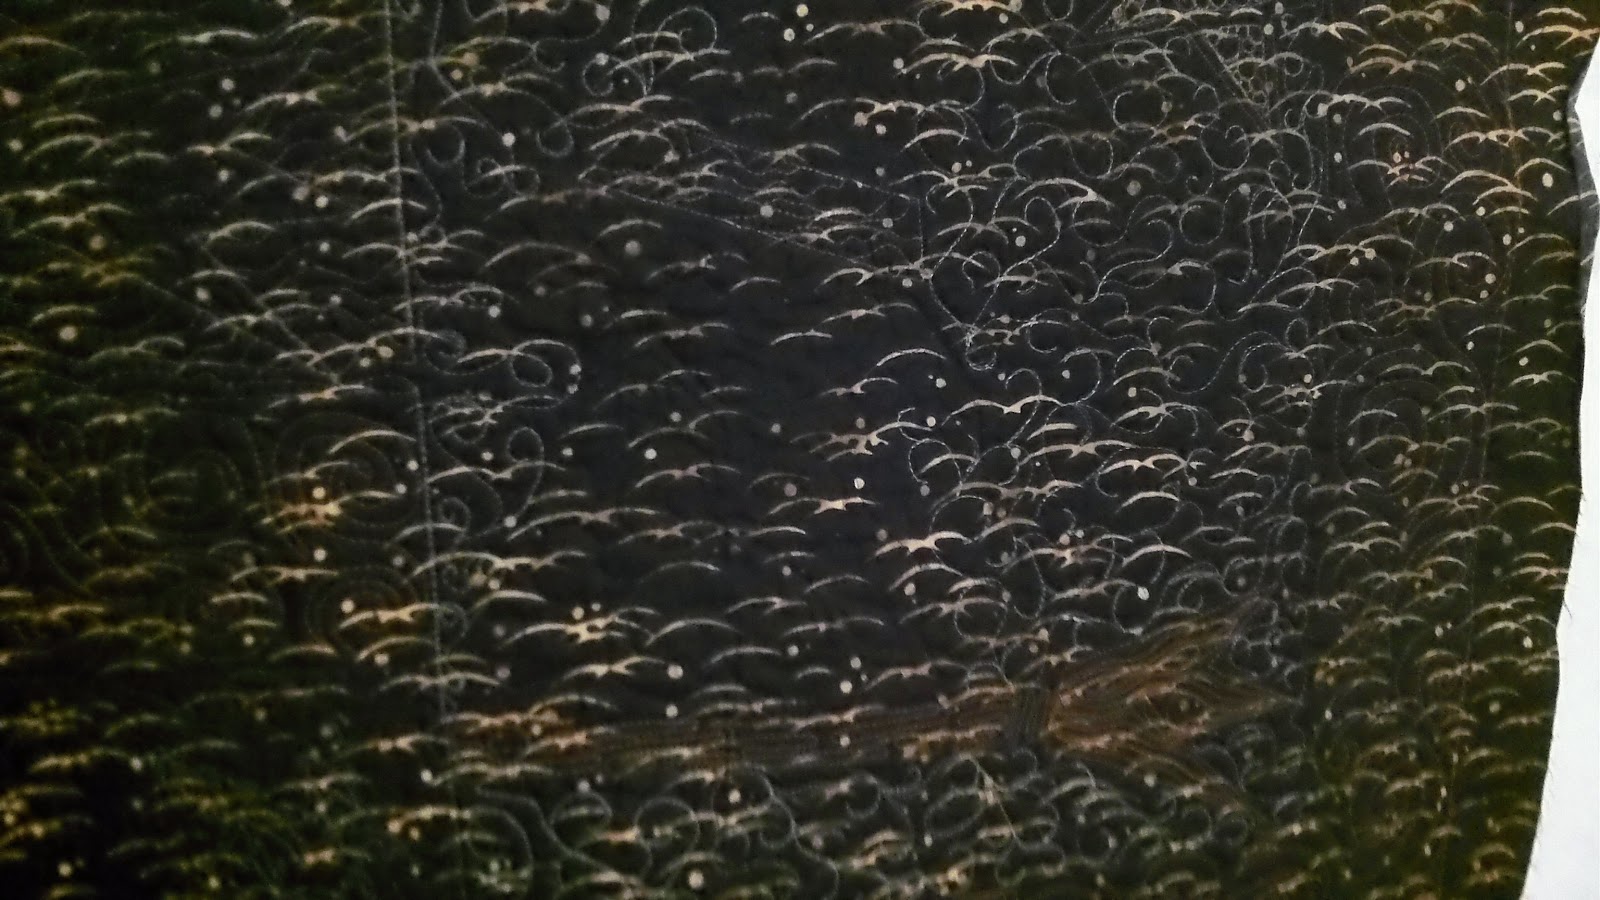
I finished the quilting on this wall hanging, here are some photos of the quilting.


I used 80/20 batting, bottom line thread by Superior along with 70/10 needles. The back is batik and the front is cotton and homespun with wool applique.

Once my friend has it hanging on the wall I will show you the finished product. I can't wait.

On to the next project.

Thanks for looking